
Music Production Tutorials
Vocal Cleanup & Quick Mastering in Pro Tools | Real Studio Session Part 5
Jun
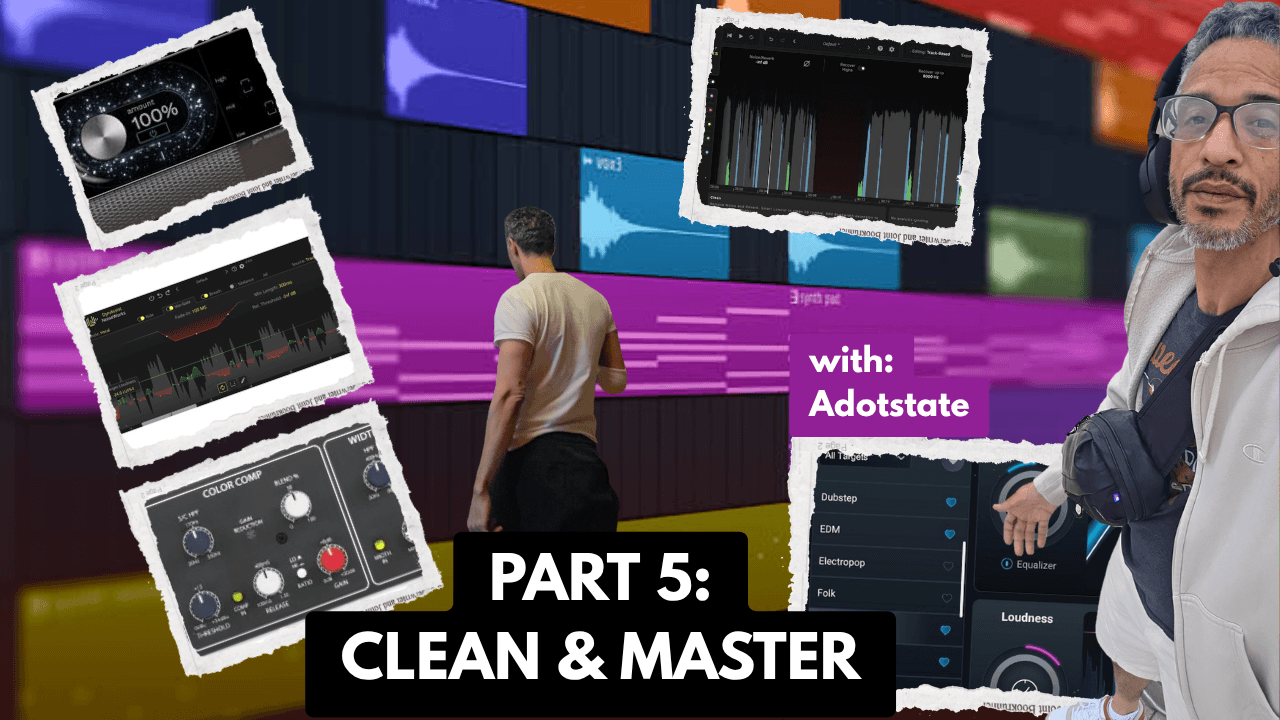
This is Part 5 and the final video in my real studio session vocal mixing series. In Part 1, I chose the compressor flavor for the vocal. In Part 2, I shaped the vocal with EQ. In Part 3, I cleaned up harsh S sounds and T sounds. In Part 4, I added reverb, delay, and space. In this final part, I clean up the vocal regions and do a quick rough master so the artist can leave with the song.
This session was recorded inside adotstate, a Milwaukee recording studio where I work with artists in real time. This is not a perfect classroom-style tutorial or a full mastering course. This is a real session workflow where I am moving fast, listening to the song, and finishing a rough copy that feels good enough for the artist to take home.
Watch Part 5: Vocal Cleanup and Quick Mastering in Pro Tools
Real Studio Session Series
This is Part 5 and the final video in my vocal mixing series. In this part, I clean up breaths, mouth noises, vocal regions, and then do a quick rough master so the artist can leave with the song.
Part 1: Choosing the Right Compressor for Rap Vocals
Part 2: EQ Before Compression for Rap Vocals
Part 3: De-Essing Rap Vocals After Compression
Part 4: Reverb and Delay Sends for Rap Vocals
Part 5: Vocal Cleanup and Quick Mastering in Pro Tools
What This Video Covers
In Part 5, I move from the sound of the vocal chain into the final cleanup and rough mastering stage. After the compression, EQ, de-essing, reverb, and delay are already working, I start cleaning up the vocal regions themselves.
This includes breaths, harsh spots, mouth noises, fades, and any small edits that help the vocal feel smoother before the final playback.
Why I Save Detailed Vocal Cleanup for Later
In a real recording session, I usually do not want to spend too much time cleaning tiny noises while the artist is still waiting to hear the song come together. I like to build the sound first, get the vocal chain working, and then clean the details near the end.
That way, the artist can hear the song taking shape, and the detailed edits make more sense once the vocal is already sitting in the beat.
Cleaning Vocal Regions in Pro Tools
One of the main parts of this video is cleaning the actual vocal regions. That means cutting out unwanted noise, trimming spaces, adding fades, and making the performance feel smoother from line to line.
Small edits can make a big difference. A hard breath, a mouth click, or a rough cut can distract from the song. Cleaning those details helps the vocal feel more finished.
Editing Breaths
Breaths are part of a real vocal performance, so I do not always want to remove every breath. Sometimes a breath helps the line feel natural. Other times, the breath is too loud and needs to be turned down or cleaned up.
In this part of the session, I look at breath control and decide what needs to stay, what needs to be lowered, and what can be removed.
Cleaning Harsh S Sounds and Mouth Noises
Even after using de-essing earlier in the chain, there can still be certain S sounds, T sounds, or mouth noises that need manual attention. Sometimes the best fix is not another plugin. Sometimes it is simply turning down one small part of the vocal.
This is where manual cleanup matters. Instead of changing the whole vocal sound, I can fix the specific spot that is causing the problem.
Using Fades to Make Edits Feel Natural
When cutting and trimming vocals, fades help the edits feel smooth. A vocal can sound chopped up if the cuts are too sharp. Fades help the words and spaces flow better.
Sometimes even a small cut before a word can make a line feel more like a clean punch-in and help the next phrase hit harder.
Voice Assist, Vocal Leveling, and Breath Control
In this video, I also work with vocal leveling and breath control tools. These tools can help straighten out the vocal and make certain parts more even before the final rough master.
I still listen carefully because automatic tools do not always make the right decision. The goal is to help the vocal feel smoother without making it sound unnatural.
Moving Into Quick Mastering
After the vocal cleanup, I move into the quick mastering stage. This is not a full mastering breakdown. This is the real studio session version of mastering: get the rough copy loud, controlled, and good enough for the artist to leave with.
At this stage, I am listening to the full song, not just the vocal. I want the vocal and beat to feel glued together, with enough loudness and control for the song to play back strong.
Using Bus Processing and Final EQ
In the final stage, I check the overall tone and use processing on the bus to control the song. Sometimes this means a little EQ cleanup. Sometimes it means controlling the level before the limiter or maximizer.
The goal is not to completely change the mix. The goal is to polish what is already there and make sure nothing is getting too harsh, too muddy, or too loud in the wrong way.
Ozone Maximizer and Final Loudness
In this part, I also use Ozone Maximizer to bring the level up. A maximizer can make the song louder, but it can also change the feeling of the mix if it is pushed too hard.
That is why I listen for pumping, distortion, and whether the vocal still feels clear after the loudness is added.
Volume Matching and A/B Comparison
One important part of the final stage is comparing the processed sound against the original sound. If the new version is only better because it is louder, that can be misleading.
Volume matching helps me hear whether the processing actually improved the song or just made it louder.
Final Playback: From Raw Vocal to Finished Rough Copy
At the end of the process, I compare where the song started with where it ended up. The raw vocal and beat sound completely different from the final rough copy after compression, EQ, de-essing, effects, cleanup, and quick mastering.
That is the whole point of this series: showing how a real vocal mix can come together step by step inside a real session.
Plugins and Techniques Mentioned in the Video
- Vocal region cleanup
- Manual breath editing
- Manual S sound cleanup
- Mouth noise cleanup
- Pro Tools fades
- Voice Assist / vocal leveling
- Breath control
- God Particle
- MBT bus processing
- Ozone EQ
- Ozone Maximizer
- Volume matching
- Final A/B comparison
Watch the Full 5-Part Vocal Mixing Series
This final video completes the full real studio session vocal mixing series. If you want to see the whole process from the beginning, start with Part 1 and follow the chain step by step.
- Part 1: Choosing the Right Compressor for Rap Vocals
- Part 2: EQ Before Compression for Rap Vocals
- Part 3: De-Essing Rap Vocals After Compression
- Part 4: Reverb and Delay Sends for Rap Vocals
- Part 5: Vocal Cleanup and Quick Mastering in Pro Tools
Need Studio Time in Milwaukee?
If you are an artist in Milwaukee or nearby and you want to record your song, you can book studio time at adotstate.
Bring your beat, record your vocals, and leave with your song when the session is done.
Lorem ipsum dolor sit amet, consectetuer adipiscing elit, sed diam nonummy nibh euismod tincidunt ut laoreet dolore magna aliquam erat volutpat.